Ingredients
- 3/4 cup all-purpose flour
- 1/2 teaspoon cayenne pepper
- 1/2 teaspoon garlic powder
- 1/2 teaspoon salt
- 20 chicken wings
- 1/2 cup melted butter
- 1/2 cup hot pepper sauce (such as Frank's RedHot®)
- Line a baking sheet with aluminum foil, and lightly grease with cooking spray. Place the flour, cayenne pepper, garlic powder, and salt into a resealable plastic bag, and shake to mix. Add the chicken wings, seal, and toss until well coated with the flour mixture. Place the wings onto the prepared baking sheet, and place into the refrigerator. Refrigerate at least 1 hour.
- Preheat oven to 400 degrees F (200 degrees C)
- Whisk together the melted butter and hot sauce in a small bowl. Dip the wings into the butter mixture, and place back on the baking sheet. Bake in the preheated oven until the chicken is no longer pink in the center, and crispy on the outside, about 45 minutes. Turn the wings over halfway during cooking so they cook evenly.
My Take
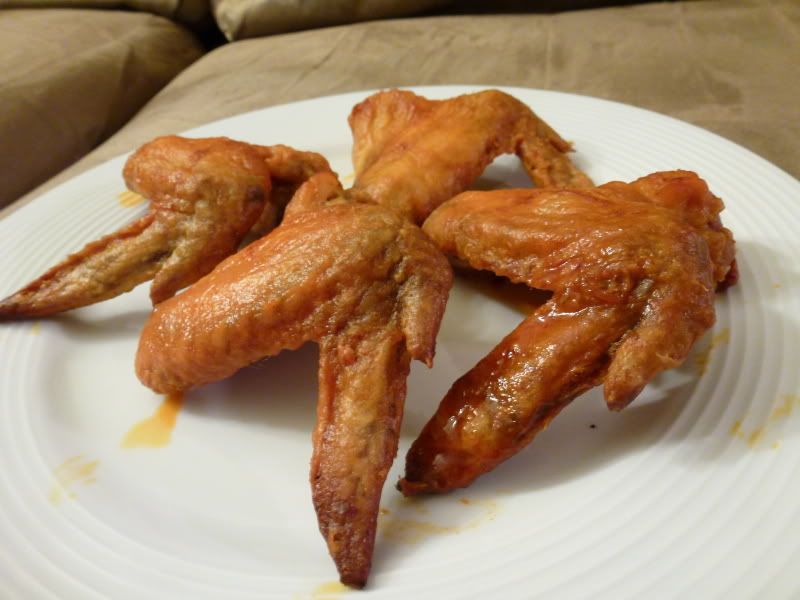
As stated above, I don't like buffalo wings, so I didn't even try these. Just the smell of the sauce was just icky to me. But, I feed them to Dylan (my taste-tester) and he loved them. I was worried about them being soggy, but he said that the texture was perfect. I was also worried about them drying out, but he said they were fine.
So here's what I changed in the recipe to make them all good:
- I made sure that the wings were nice and dry by squeezing them with a paper towel before I dredged them in the flour mixture.
- Instead of cooking them on a baking sheet, I baked them on a cooling rack over a baking sheet to keep them out of the juices to keep them from getting soggy.
- Instead of immediatly putting the sauce on them, I first baked one side for 25 minutes, flipped them and cooked them an additional 25 minutes. Then I put the sauce on them and baked them for 5 additional minutes.
Revised Directions
- Squeeze and pat the chicken wings dry with a paper towel, making sure all excess moisture is gone.
- Mix the flour, cayenne pepper, garlic powder, and salt into a resealable plastic bag and shake to mix. Add the chicken wings, seal, and toss until well coated with the flour mixture. Place the wings onto a baking sheet and place in the refrigerator. Refrigerate at least 1 hour.
- Preheat oven to 400 degrees F (200 degrees C)
- Spray a cooling rack with cooking spray and place over a cooking sheet. Place the wings on the cooling rack and place in the oven. Cook on one side for 25 minutes. Flip and cook for another 25 minutes.
- Whisk together the melted butter and hot sauce in a small bowl. Dip the wings into the butter mixture and place back on the cooling rack. Bake for an additional 5 minutes. If desired, drizzle or coat the wings with remaining sauce.
No comments:
Post a Comment